
Navigating Glaciers in Flat Light and Whiteouts
Skiing with limited visibility
When the sun is shining on a glacier, it’s easy to see features such as sagging bridges, open crevasses and convexities. This is what we hope for, but it can sometimes change quickly and unexpectedly. Therefore we need to be ready to deal with deteriorating visibility.
When the sky starts to cloud over, shadows start to disappear and the contrast between various aspects and slope angles diminishes, commonly referred to as flat light. It’s often difficult to see what is immediately in front of your skis, so it’s important to develop a sense of feel for the terrain through your skis. This way your eyes can look up and scan side to side, building a partial three dimensional mental model of the terrain from features you are able to identify such as horizon lines, ice/rocks and differences in contrast between slopes of different angles and aspects. The Art of Up-tracking Handbook explains many ways to interpret these features when skinning uphill, although skiing down can be more challenging.
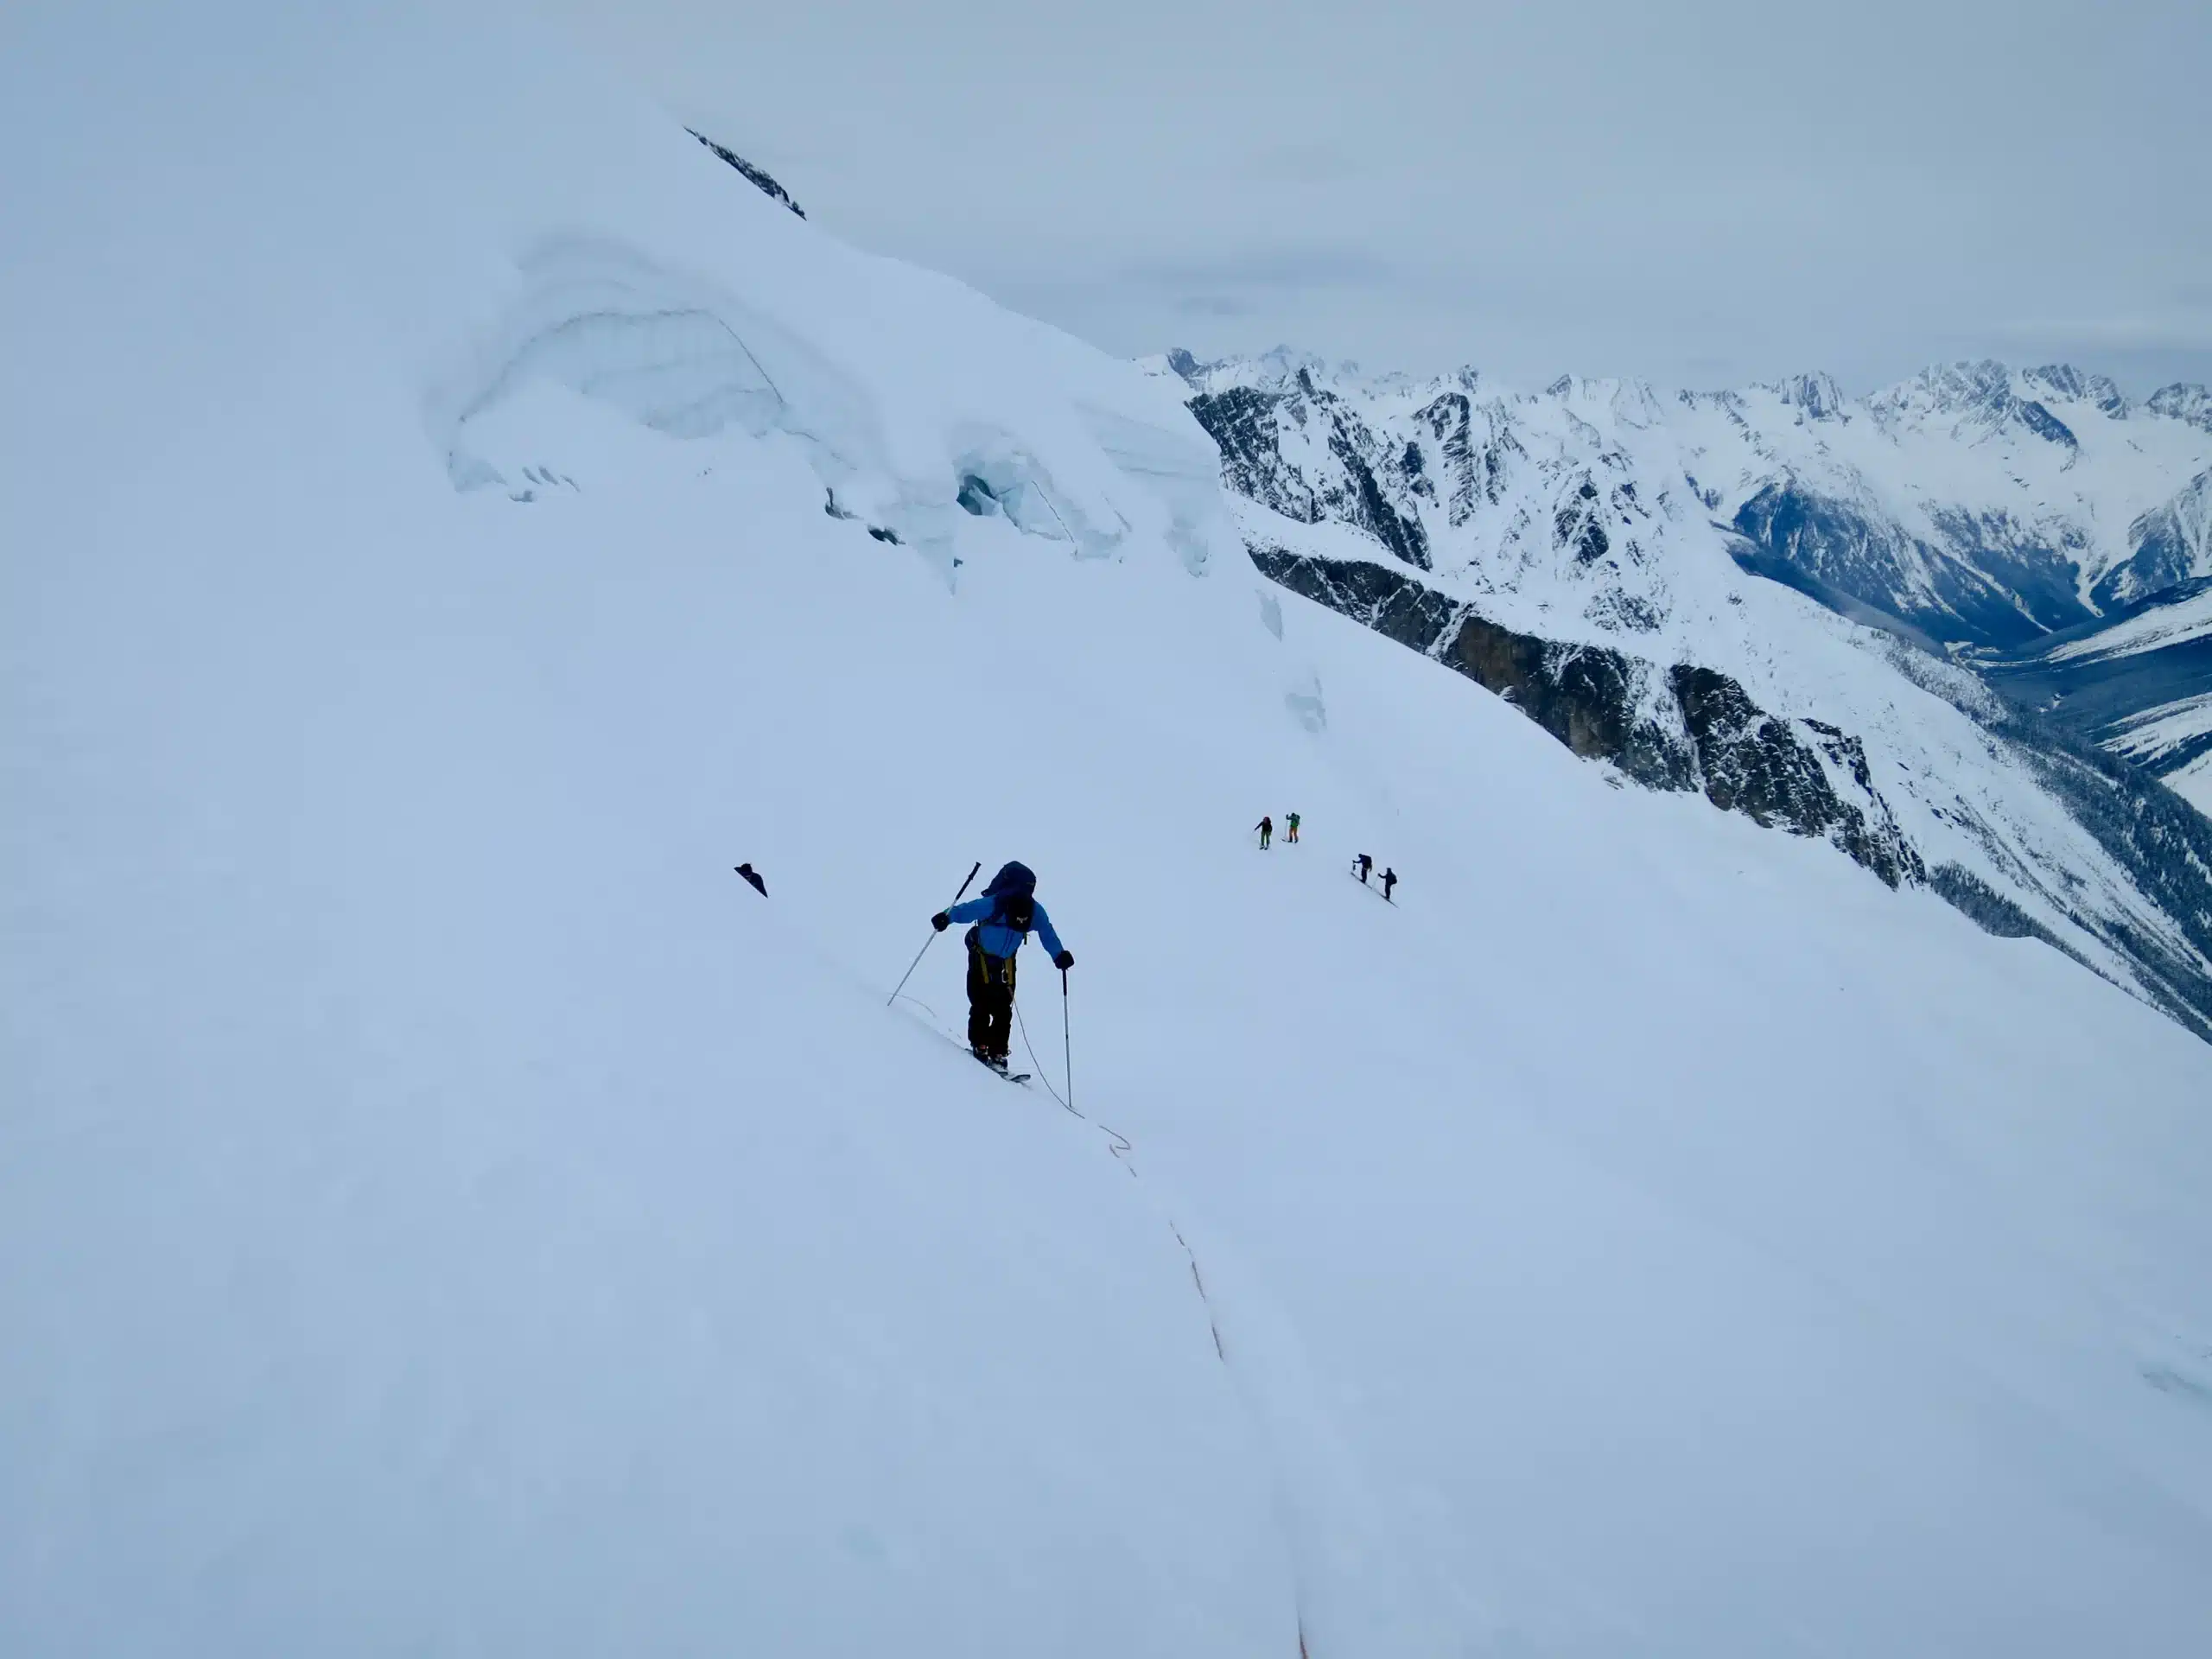
The photo below is a typical example of the early stages of flat light on the Asulkan Glacier. Horizon lines, contrast between slopes, rocks and ice are still visible and sharp, and faint shadows from the people are still visible. However, it is difficult to tell how steep slopes are and the exact shape of the terrain including sagging bridges.
When skiing down in the initial stages of flat light, I slow down, but keep skiing down the fall-line if I still feel comfortable that I can see obstacles before I run into them. The fall-line is the line a ball would make in the snow if you released it and it slowly rolled downhill with gravity. For those without much practice skiing in flat light, it can be difficult when you can’t see the shape of the terrain. Skiing fall-line needs to be done by feel even in good light, because the fall-line is usually different to what our eyes tell us. If your left turn feels exactly the same (length, pressure, shape and timing) as your right turn, you are skiing fall-line. It sounds simple, but in reality it’s quite difficult, especially when the terrain is convoluted. To practice, I recommend finding a planar slope with no hazards and trying to ski it with your eyes closed. You can then self-assess or have a friend let you know how you did. Most people’s left and right turn are slightly different, so it’s good to note which direction you tend to drift. If you’re on a snowboard, this is more difficult due to the difference between toe-side and heel-side turns.
When people are apprehensive about what’s below them, they tend to traverse rather than skiing down. This can be dangerous, especially at a convexity where you’re most likely to become apprehensive. Traversing means your skis are parallel to most crevasses and you’re more likely to punch through a narrow bridge. The other problem with traversing is that you’re more likely to ski onto a highpoint that is shallower with weaker bridges. Whereas, if you ski down the fall-line, it will normally drain you towards gullies where the snowpack is deeper and the bridges are stronger. The photo below shows Gauthier Pierrel skiing down the Glacier de La Noire in the early stages of flat light.

As I get more nervous about the visibility, I start to make stem turns (start the turn in a snowplow and end in parallel), dragging my poles to help feel the terrain. When that’s too fast and I’m still having trouble seeing, I’ll start snowplowing in a straight line. This makes it much easier to pick up on changes in the terrain as I’m scanning ahead left and right with my eyes. This approach usually works roped up as long as I can keep the pace slow and steady. If the terrain is mellow enough, putting skins on can be a good way to slow down the group and keep a steady pace.
If the terrain is too steep for stem turns or a snowplow, I will make one short parallel turn (or jump turn if it’s really steep), turning uphill until I come to a complete stop (often called a J-turn). When I stop, I can look around and decide if I feel comfortable doing another turn. This may require throwing some snow down the slope to help see the shape of the snow. If I’m roped up in steep terrain, this approach doesn’t work and I’ll have to resort to sideslipping so we don’t pull each other over. The following photo shows Madeleine Martin-Preney using a combination of jump turns and sideslipping while descending a steep couloir onto a glacier on the Gold Range Traverse. In this case we wanted to go one at a time due to the avalanche hazard and we decided roping up would be more dangerous.

When the visibility further deteriorates and you can’t see horizon lines, shadows or texture, and you can’t tell up from down, this is a white out. Throwing things in front of you can help determine what’s ahead. My preference is to throw snowballs because the brightness is similar to everything else I’m looking for, so I can still maintain my awareness of other features. Some people prefer to throw other things like their ski poles, or tie a long piece of accessory cord to their ski pole and whip it. Personally, I don’t like using a cord unless I’m following the edge of a cornice or open crevasse; my eyes become focussed on the cord due to the contrast and I lose my ability to see other shapes and shadows in the snow.
Below is a photo of Pierre Hungr leading a group down the Jungfraufirn in periods of whiteout, moving very slowly while roped up. This is the same route described in section 12 of The Art of Glacier Travel Handbook.

Use non-polarised lenses for better terrain definition when navigating in snow. This is because they don’t cut out the polarised light reflecting from the surface that you need to distinguish shadows and depth. This makes it easier to see the shape of the terrain in flat light.
With all of the techniques described above, practice is paramount. The only way to get good at skiing in flat light and whiteouts, is by doing it lots. Don’t expect to get comfortable with it in a few days, expect several hundred days of practice to build confidence.
Whiteout plans
Traveling on a glacier in a whiteout or flat light can be intimidating. If you add wind or heavy snowfall it can easily become overwhelming, with the majority of your energy struggling just to keep fingers warm and see through iced up or wet glasses. If you don’t have a thorough plan, you will probably have to build a snow shelter unless you’re prepared to take on a lot of risk.
A well thought out whiteout plan will help alleviate your stress and give you confidence to push on to the next safe point such as a hut, sheltered campsite or the highway. If you could be spending a significant amount of time navigating on glaciers in a whiteout, I recommend writing it down on waterproof paper. This includes the details you need to follow it with your GPS/smartphone, as well as a map and compass in case your electronics fail. Smartphone batteries tend to die quickly in the cold and screens often stop functioning when they’re wet with cold fingers.
If I expect extended and difficult whiteout navigation on a trip, I will often bring a dedicated GPS with a touch-screen and mapping capabilities such as the Garmin Oregon 650t. This can be run on AA batteries and the touch-screen works in heavy rain with frozen fingers using a capacitive pointer. I’ve found this works for 6 hours of intense use with 2-3 sets of batteries, which wouldn’t be possible with a smartphone in adverse conditions.
I usually find the visibility’s not as bad as feared and I just have to get out my phone occasionally to check I’m on track. However, occasionally my fears come to fruition and I rely heavily on my plan.
Considerations when making a whiteout plan:
-
- How much has the glacier changed since the map was published
- Crevasse hazard
- Avalanche hazard on slopes being traveled
- Overhead hazard from cornices, rockfall, seracs and large avalanches
- Use handrails when available (eg. cliffs)
- Aiming-off can be a useful technique to avoid hazards and make sure you don’t miss a col, especially if navigating by compass
- Shorten segments as terrain complexity increases
- How likely is it that your electronics will fail and you’ll have to resort to a map and compass
The following photo and table are an example of an old fashioned whiteout plan to cross the Illecillewaet Neve, with enough detail to travel with a map and compass. It’s rare that I make a plan this detailed, as it takes quite a bit of time and effort that isn’t usually required.


If I’m on a long trip with limited battery power and I need to move, I would consider doing a whiteout plan in this much detail. Distances can be counted by rope-lengths, and the first or second person on the rope can have a compass in their hand. It’s easier for the first person to watch the compass and walk in the correct direction. However, this requires a lot of attention, so if you’re worried about crevasses you may need to have the first person watching out for them and the second person with the compass.
If I think I’ll be able to use my phone or GPS, I might skip some of these steps. For example, I was once in the position at the Glacier Circle Cabin, where we could either travel over the Illecillewaet Neve during the night to finish the Bugaboos to Rogers Pass Traverse, or possibly be stuck there for a week or more until the snow from the incoming storm had settled. In this case we had several phones within the group, so we plotted a few waypoints and navigated with a mix of phones and compass. We could read the bearing from the phone, then use a compass to walk for half an hour or so across the flats before checking the phone again and updating. This way we could save our batteries, plus looking at a compass is easier than the phone.
There aren’t any rules about how you need to do it, but it’s sensible to err on the side of caution when deciding how detailed to make your plan.
More details and examples of this more 'modern' style of route planning are discussed in the Advanced Navigation and Route Planning Course.